Chirag's Blog
Conditional Dependency Management Using Maven Profiles
August 6, 2024
Maven is an efficient build tool and project management tool mainly known for effectively building projects in Java. It is one of the most useful features in Maven, to effectively manage the consumers and producers of dependencies in a project.
In complex projects, you might need different dependencies or configurations based on various conditions such as the development environment, target platform, or specific build requirements. This is where Maven Profiles come into play. Maven Profiles
Maven Profiles is a set of parameters that can be adapted to set or alter the default parameters of Maven build. They enable you to define the application construction process according to specific contexts like development, testing, or production.
Key Concepts:
- Profile Activation: Activations can be of several types depending on the option keys like command-line, Maven option settings, system environment variables, and system preferences.
- Dependency Management: It is possible to use profiles to specify which dependencies should be included and which ones should be excluded based on the currently active profile.
- Build Customization: With profiles, you can control how your build process is set up in aspects like plug-in settings, resources being filtered etc.
Setting Up a Maven Project with Profiles
Let's walk through the process of setting up a Maven project that uses profiles for conditional dependency management.
Step 1: Create a New Maven Project
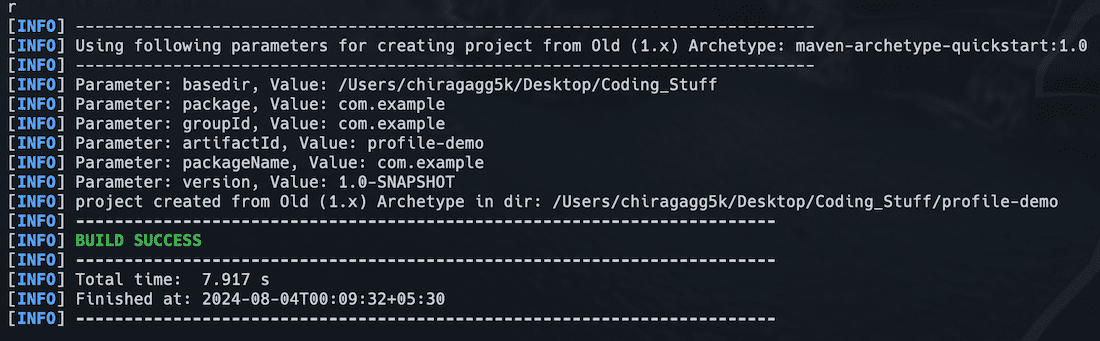
First, let's create a new Maven project using the command line:
Output:
This command will create a new Maven project with a basic structure. Here is what the output should look like:
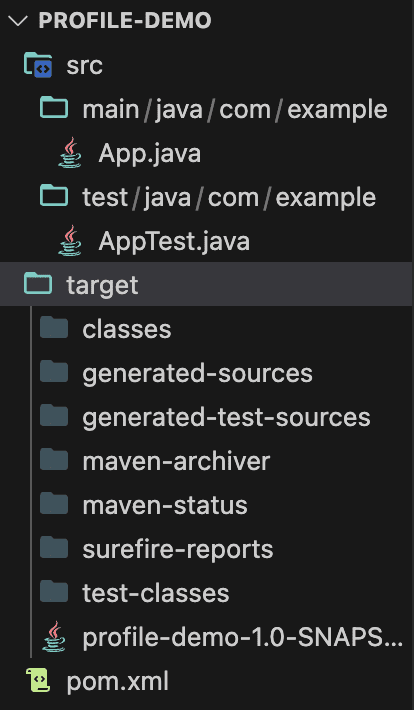
Now, let's take a look at the directory structure that Maven has created for us:
Step 2: Configure pom.xml
Now, let's modify the pom.xml file to include profiles. We'll create two profiles: development and production, each with its own set of dependencies.
In this configuration:
- We have a common dependency (JUnit) that's always included.
- The development profile includes the slf4j-simple logger.
- The production profile includes the logback-classic logger.
- The development profile is set as the default profile.
Step 3: Create Java Classes
Let's create a simple Java class that uses the logger:
Step 4: Build the Project
Now that we have set up our project with profiles, let's see how to use them.
Building with the Default Profile
To build the project with the default profile (development in our case), simply run:
This will include the slf4j-simple logger in the build.
Building with a Specific Profile
To build the project with the production profile, use the -P flag:
This will include the logback-classic logger in the build instead.
Advanced Profile Usage
Profiles can be activated in various ways:
- Command Line: As shown above, using
-P<profile-id>.
For example, To activate the 'development' profile:
- Maven Settings: In the
settings.xmlfile:
- Environment Variable: In the
pom.xml:
Then activate using: mvn clean package -Denv=prod
- OS Settings: Activate based on the operating system:
Resource Filtering:
Profiles can also be used for resource filtering. For example:
This will only include the application-dev.properties file when the development profile is active.
Conclusion
Maven Profiles provide a powerful way to manage conditional dependencies and configurations in your Java projects. By using profiles, you can easily switch between different build configurations for various environments or conditions. This flexibility allows for more maintainable and adaptable projects, especially when dealing with complex build requirements or multiple deployment scenarios.
References:
- GeeksforGeeks: Apache Maven
- GeeksforGeeks: Maven Lifecycle and Basic Maven Commands